
Pressure washing has the power to completely transform your home’s appearance. With a single session, you can revive a dull wooden deck, refresh a stained driveway, or restore your home’s grimy siding to a like-new look. But while pressure washing delivers stunning results, it can also cause costly damage or even injury if not done correctly. That’s why planning matters.
Without a proper pressure washer maintenance checklist, you risk etching wood, cracking siding, or flooding your home’s electrical outlets. To avoid these costly mistakes, this definitive pressure washing checklist will walk you through every critical step, starting from inspection and preparation to rinsing and cleanup. Following it will help you achieve professional-level results safely and efficiently.
Key Takeaways
- Pressure washing revives surfaces like driveways, decks, and siding.
- A checklist prevents mistakes & ensures safety.
- Inspect surfaces & prep before washing.
- Right PSI, nozzles & gear = best results.
- Clean top-to-bottom, maintain a safe distance.
- Post-cleaning care keeps surfaces lasting longer.
- Safety first – avoid ladders & 0° nozzle.
- Professionals like San Diego Pressure Washing make it hassle-free.
Why You Need a Pressure Washing Checklist
Creating a checklist isn’t about being organized, it’s your roadmap to safe, effective, and cost-efficient cleaning.
Prevents Damage
High-pressure water can be incredibly destructive if misused. Softwoods like cedar can splinter, windows can shatter, and siding can warp under the wrong nozzle or distance. By following a structured pressure washer safety checklist, you will know which surfaces require gentle handling and which can withstand more force, avoiding costly repairs.
Ensures Safety
Pressure washers aren’t toys; they’re powerful machines capable of cutting through skin, damaging eyes, and posing electrical hazards. A checklist reminds you to wear protective gear, secure outlets, and take precautions to prevent accidents. Keeping safety top of mind ensures the job is done without injury.
Saves Time & Money
There’s nothing worse than stopping mid-job because you forgot a nozzle, ran out of detergent, or didn’t tape off an outlet. With a checklist, you’ll have every supply ready and every precaution taken before you start, saving unnecessary trips to the store and wasted hours.
Achieves Better Results
A methodical, step-by-step approach guarantees thorough cleaning. Instead of uneven streaks or missed spots, you’ll enjoy consistent, professional-level results that make your home look refreshed and well-maintained.
Pre-Cleaning Inspection & Planning Checklist
Before doing any sort of planning, take out some time to evaluate your space and then move ahead with planning carefully.
Identify Surfaces
Start by noting exactly what you’re cleaning, whether it’s a concrete driveway, a wooden deck, or vinyl siding. Each surface requires a different PSI setting, nozzle type, and cleaning method. For example, siding needs a wider spray, while concrete can handle more intensity.
Check for Damage
Examine surfaces for cracks in concrete, rotten wood, loose siding panels, or failing mortar. Pressure washing can worsen existing weaknesses, so it’s best to repair them first or proceed with caution in those areas.
Scan for Obstacles
Make note of light fixtures, electrical outlets, vents, and delicate landscaping nearby. These need protection from high-pressure water or cleaning chemicals, which can cause costly damage if left exposed.
Check the Weather
Choose a clear, mild day for pressure washing. Avoid windy conditions that can blow detergent where it shouldn’t go and skip hot, sunny days where cleaning solutions might dry too quickly and leave streaks.
Essential Pressure Washing Equipment Checklist
Safety and effectiveness are non-negotiables when it comes to handling the pressure washing equipment –
Core Equipment
Your pressure washer is the heart of the job; make sure its PSI rating suits your surfaces. Equip it with a range of nozzles (0°, 15°, 25°, 40°, plus a soap nozzle) for versatility. An extension wand is also invaluable for reaching high areas without a ladder.
Safety Gear (Non-Negligible)
Protect yourself as carefully as you protect your home. Always wear safety goggles, hearing protection (for gas-powered units), closed-toe shoes, long pants, and heavy-duty gloves. This gear prevents injuries from flying debris, chemicals, and high-pressure spray.
Cleaning Solutions & Tools
Opt for eco-friendly or surface-specific detergents to protect your family, pets, and landscaping. Keep a five-gallon bucket handy for mixing, and a stiff-bristle brush for scrubbing away stubborn stains before rinsing.
Preparation & Protection
Stock up on plastic sheeting, painter’s tape, and drop cloths. These materials will safeguard windows, outlets, vents, and nearby plants from water and chemical exposure.
Step-by-Step Pressure Washing Execution Checklist
You have prepared the surface and gathered the supplies, now its time to execute your plan. How to do that? Let’s find out.
1. Preparation & Safety Setup
- Clear the Area: Move outdoor furniture, toys, grills, and mats to a safe spot.
- Protect Landscaping: Wet down surrounding plants with a garden hose to dilute chemicals, then cover delicate greenery with plastic sheeting.
- Protect Fixtures: Tape plastic over outlets, vents, and lights to prevent water intrusion.
- Close Windows & Doors: Double-check seals to avoid accidental flooding.
2. Machine & Solution Setup
- Connect to Water: Attach your hose, turn on the water fully, and purge air from the system.
- Add Detergent: Use the correct nozzle for applying soap, and fill the machine’s tank if necessary.
- Test Spray: Always start with the widest nozzle on a hidden spot to confirm safe pressure.
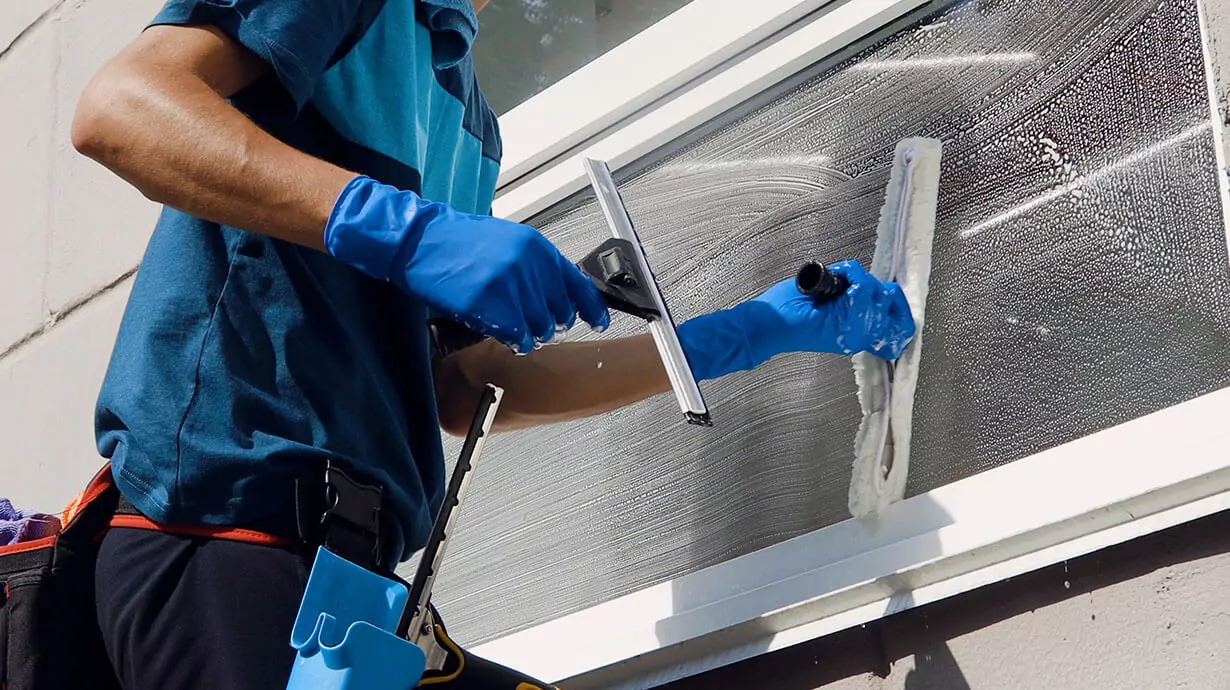
3. The Washing Process
- Apply Detergent: Work bottom-up so soap clings and avoids streaks, letting it dwell for 5–10 minutes.
- Rinse from Top Down: Switch nozzles and rinse in steady strokes, pushing dirt downward.
- Maintain Distance: Hold the wand 6–12 inches from the surface for control and consistency.
- Use Smooth Motion: Overlap strokes to prevent streaks, avoiding prolonged sprays in one spot.
Post-Cleaning & Cleanup Checklist
The final touch of cleaning gets completed only when you rinse and restore everything properly. That’s where post cleaning checklist comes.
Rinse Thoroughly
Go over surfaces again with plain water to ensure all detergent is removed. Residue can leave streaks or attract dirt more quickly if left behind.
Rinse Plants Again
After removing protective covers, gently hose down nearby plants to flush away any overspray or chemicals that may have settled.
Relocate Items
Once the area is completely dry, bring back your outdoor furniture, grills, and décor. Placing items back on wet surfaces can trap moisture and cause stains.
Clean Your Equipment
Depressurize the washer, disconnect hoses, and drain water from the pump and lines. Proper storage prevents rust, freezing damage, and ensures your washer is ready for next time.
Pressure Washing Safety Reminders
Safety is the single most important element of pressure washing. Keep these reminders top of mind while following the pressure washing checklist –
- NEVER use a ladder with a pressure washer. The recoil can knock you off balance and cause a dangerous fall.
- NEVER use the 0° (red) nozzle unless you’re an expert—it delivers a needle-like stream capable of carving into concrete.
- NEVER aim the wand at yourself, another person, or pets. The water pressure can cut skin and cause serious injuries.
- ALWAYS watch your electrical cords. Keep them dry and away from water to prevent electrocution.
Conclusion
Pressure washing is one of the fastest and most cost-effective ways to refresh your home’s exterior. But without proper planning, it can also lead to damage or injury. With the pressure washer safety checklist as mentioned above, you’ll have every step, from inspection and equipment prep to execution and cleanup, covered for a safe, efficient, and professional-level clean.
Consider San Diego Pressure Washing for all your pressure washing needs if you stay in San Diego. We deliver spotless results while ensuring the safety of your home, landscaping, and family. Book your service today and enjoy a home that shines like new.
FAQs
1. What are the safety precautions for pressure washing?
Always wear protective gear like goggles, gloves, and closed-toe shoes. Keep a safe distance, avoid ladders, and never point the wand at people, pets, or electrical outlets to prevent accidents.
2. What is the best method of pressure washing?
The best method is to start with a low-pressure wide nozzle, apply detergent (if needed) from the bottom up, let it dwell, and rinse from top to bottom using smooth, overlapping strokes.
3. What is the most important step on a pressure washing checklist?
The most important step is the pre-cleaning inspection, checking surfaces, fixing damage, and protecting plants or fixtures, which ensures a safe and effective wash without costly mistakes.
4. How long does it take to pressure wash a house or driveway?
On average, it takes 2–4 hours to pressure wash a standard house and about 1–2 hours for pressure washing a driveway, depending on size, dirt buildup, and equipment used.
5. What PSI (Pressure) is best for different surfaces?
- Wood decks: 500–1,200 PSI
- Vinyl siding: 1,200–1,500 PSI
- Concrete driveways: 2,500–3,000 PSI
- Brick/masonry: 1,500–2,500 PSI
- Always test a small spot first to prevent damage.